Open your Ordesa DSP email
Open the email from Ordesa DSP containing your Basilisk download link. Use the email address associated with your beta invitation.
Unleash Basilisk.
Basilisk moves from focused crunch to venomous saturation without sanding away transient detail. Two carefully voiced clipping stages, a musical filter and a level control make it fast to dial in good tones and difficult to make them boring.
Open the email from Ordesa DSP containing your Basilisk download link. Use the email address associated with your beta invitation.
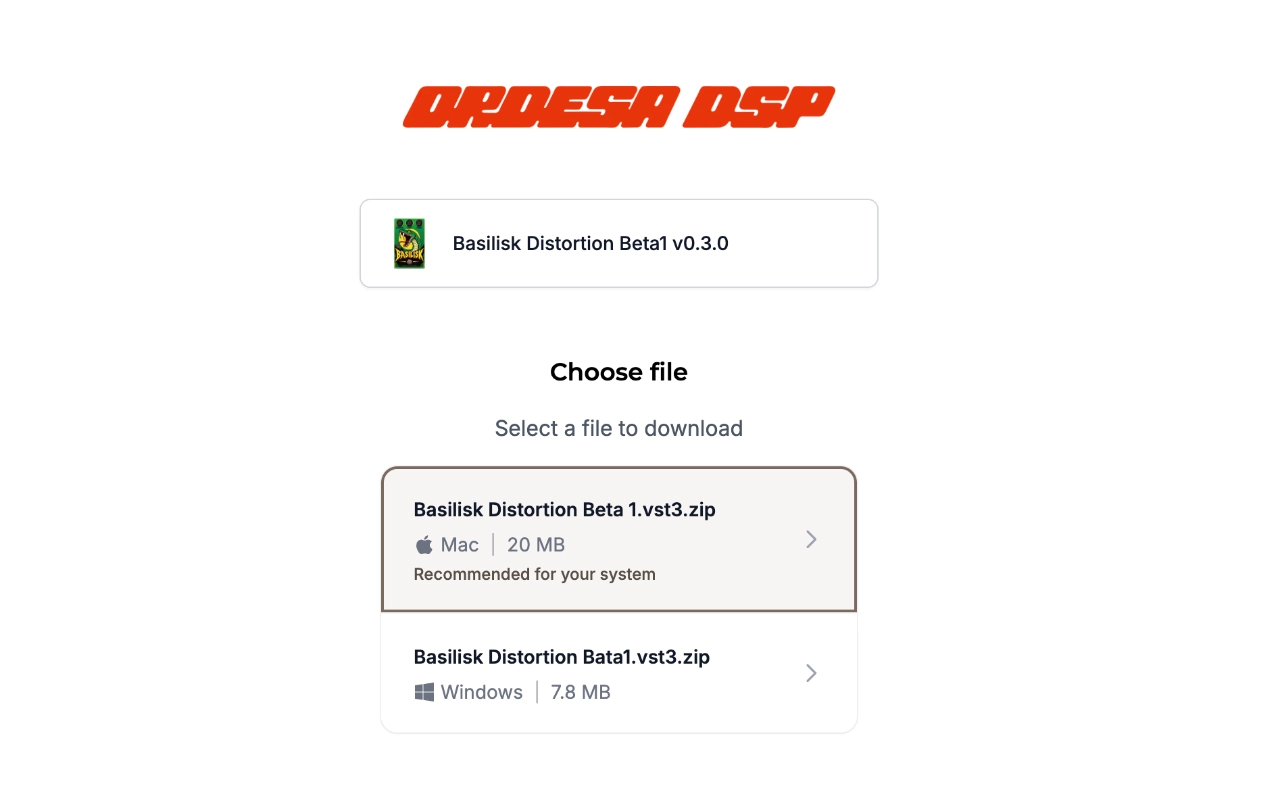
Open the link in that email to access your Basilisk downloads. Sign in if prompted, using the account associated with your invitation.
Download the ZIP for Windows or macOS to the computer where you will use Basilisk. On macOS, choose AU for an AU-compatible DAW, or VST3 for a VST3 host.
Check spam or junk folders. Contact contact@ordesadsp.com with your invitation email address if it is still missing.
Close your DAW. Right-click the downloaded Windows ZIP and choose Extract All….
Copy the extracted Basilisk Distortion.vst3 into the folder shown opposite. If it is a folder, copy it whole.
Windows may ask for administrator permission to copy into Program Files.
Reopen your DAW, rescan VST3 plugins if needed and load Basilisk Distortion on an audio track.
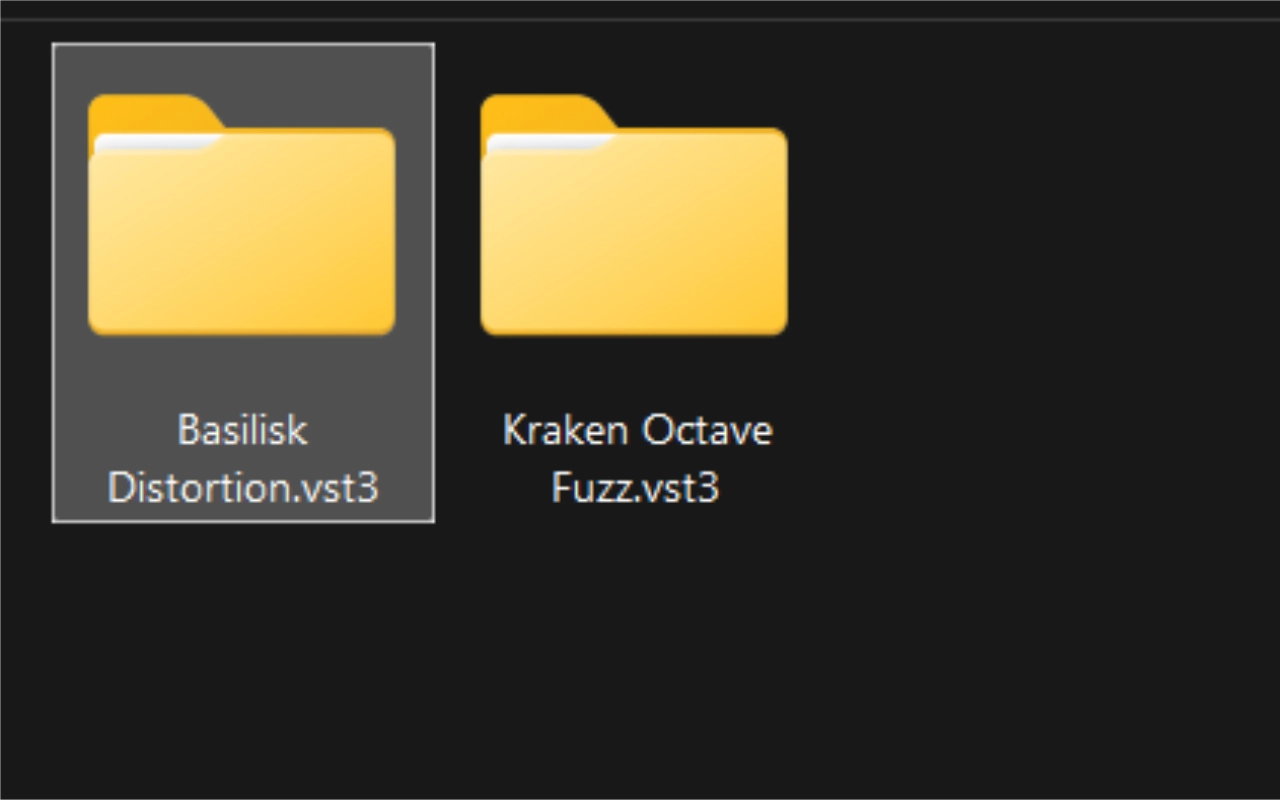
C:\Program Files\Common Files\VST3\Paste this path into File Explorer. Create the folder if needed.
Follow the license activation steps.
VST3 folder reference: Steinberg VST 3 Developer Portal ↗
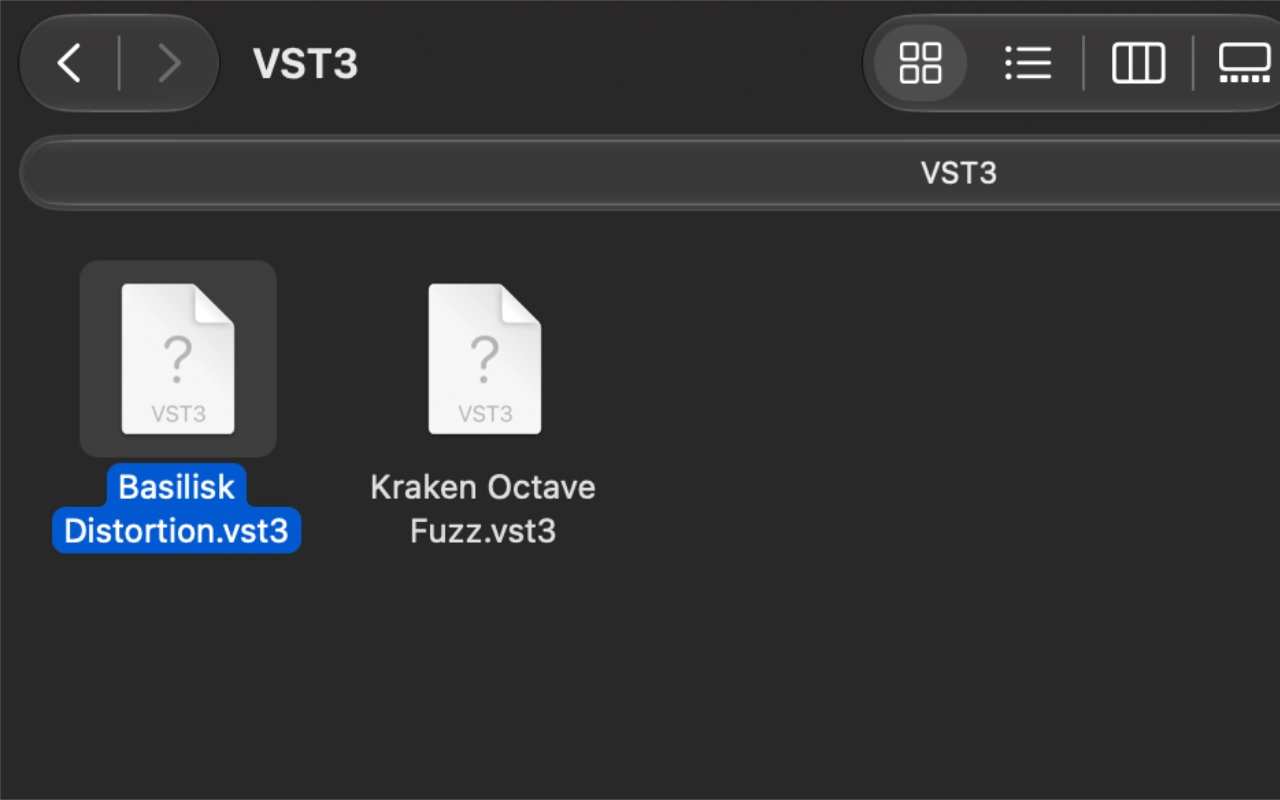
Close your DAW and extract the ZIP. In Finder, press Shift + Command + G and open:
~/Library/Audio/Plug-Ins/VST3/Only if the folder does not exist, run in Terminal:
mkdir -p ~/Library/Audio/Plug-Ins/VST3Now copy Basilisk Distortion.vst3 from the extracted ZIP into this folder.
This beta is not yet notarized; macOS may show “Apple could not verify…”. Developer ID signing and notarization are planned for launch.
Open Terminal, paste this command and press Return:
xattr -dr com.apple.quarantine \
  "$HOME/Library/Audio/Plug-Ins/VST3/Basilisk Distortion.vst3"
Removes the download quarantine flag from only Basilisk Distortion, without disabling macOS security settings. Run it only on the beta received directly from Ordesa DSP.
No output usually means success. Repeat after installing a new beta if needed.
Reopen your DAW and rescan VST3 plugins if needed. Load Basilisk Distortion on an audio track, then activate your license.
Connect to the internet and use the account associated with your Basilisk beta invitation.
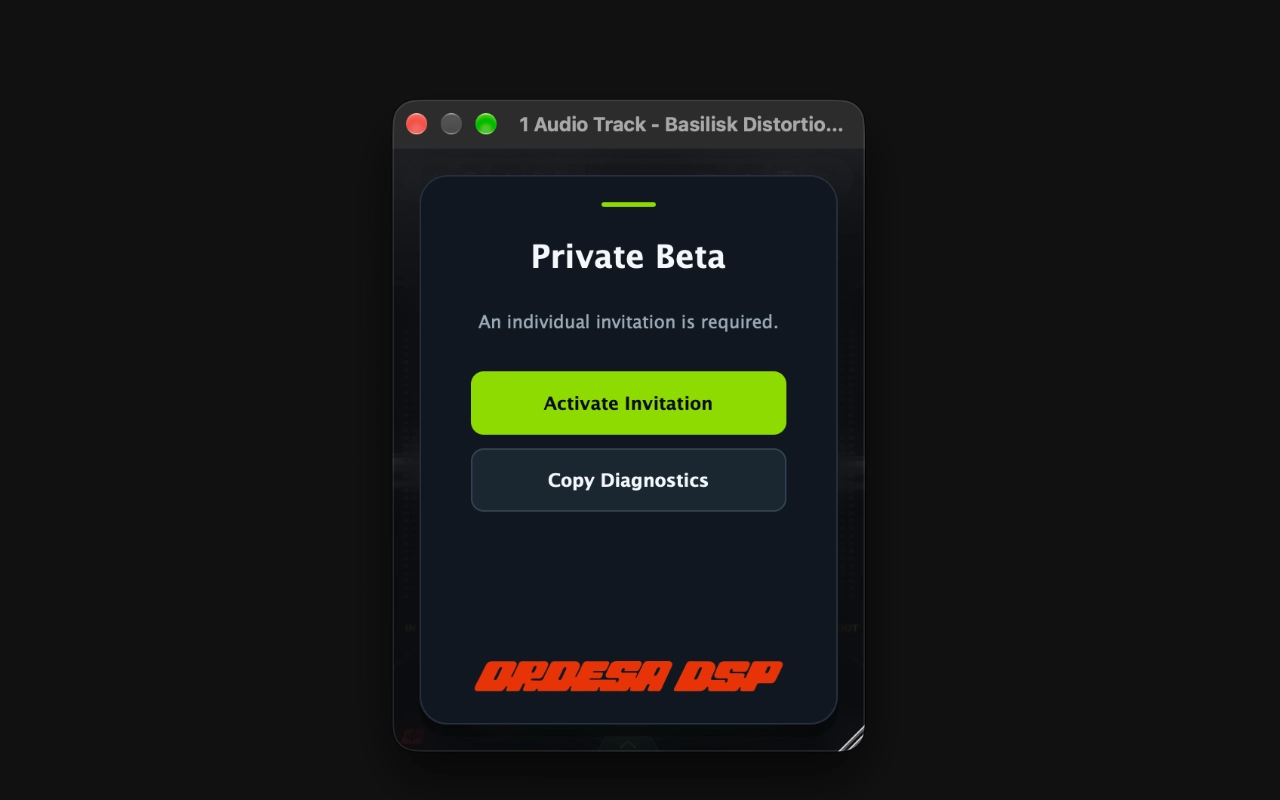
Load Basilisk in your DAW. Choose Activate Invitation from its license screen.
The plugin opens the Ordesa DSP activation page. Sign in with the email address that received your beta invitation.
Click on → Create account. Enter your name, invitation email and password. Choose Sign up, confirm your email, then return here. Already registered? Use password reset if needed.
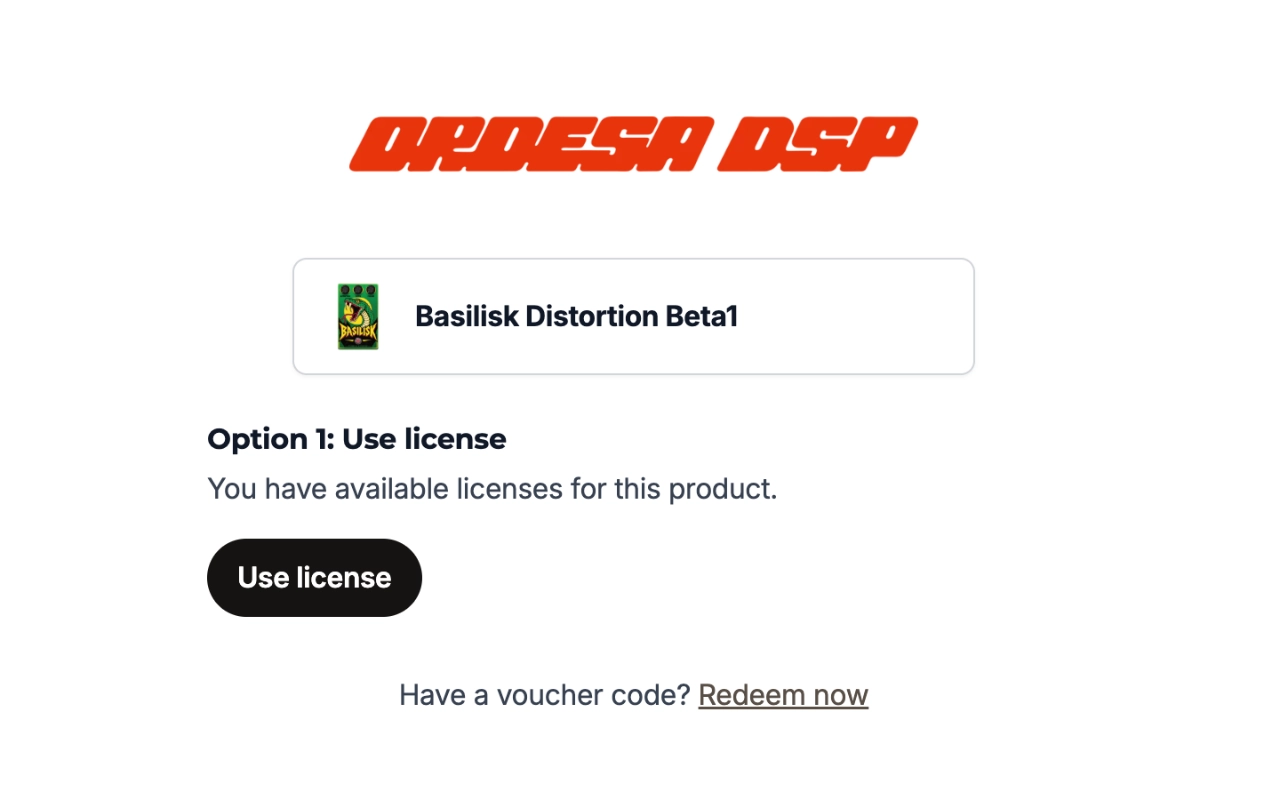
Select the Basilisk license linked to your invitation and click Use license. Confirm activation for this computer.
Keep Basilisk open. Complete the browser steps, then return to your DAW and wait for activation to finish.
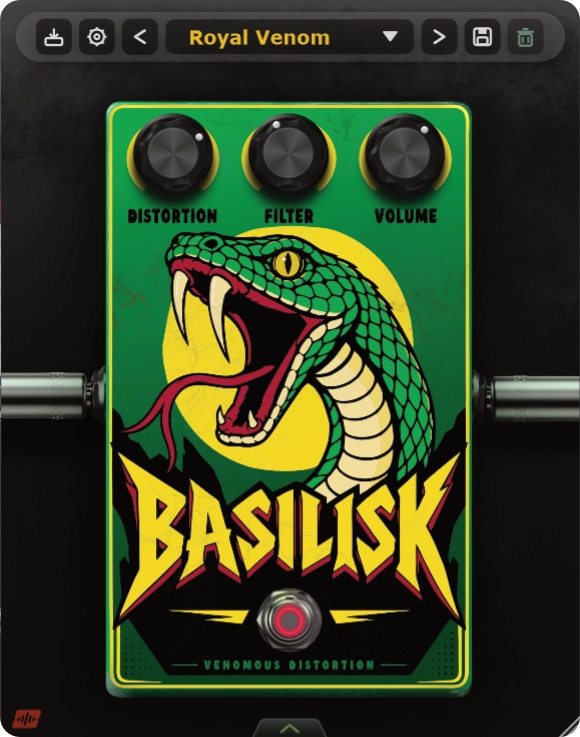
Manage presets, save sounds, and access license and update settings.
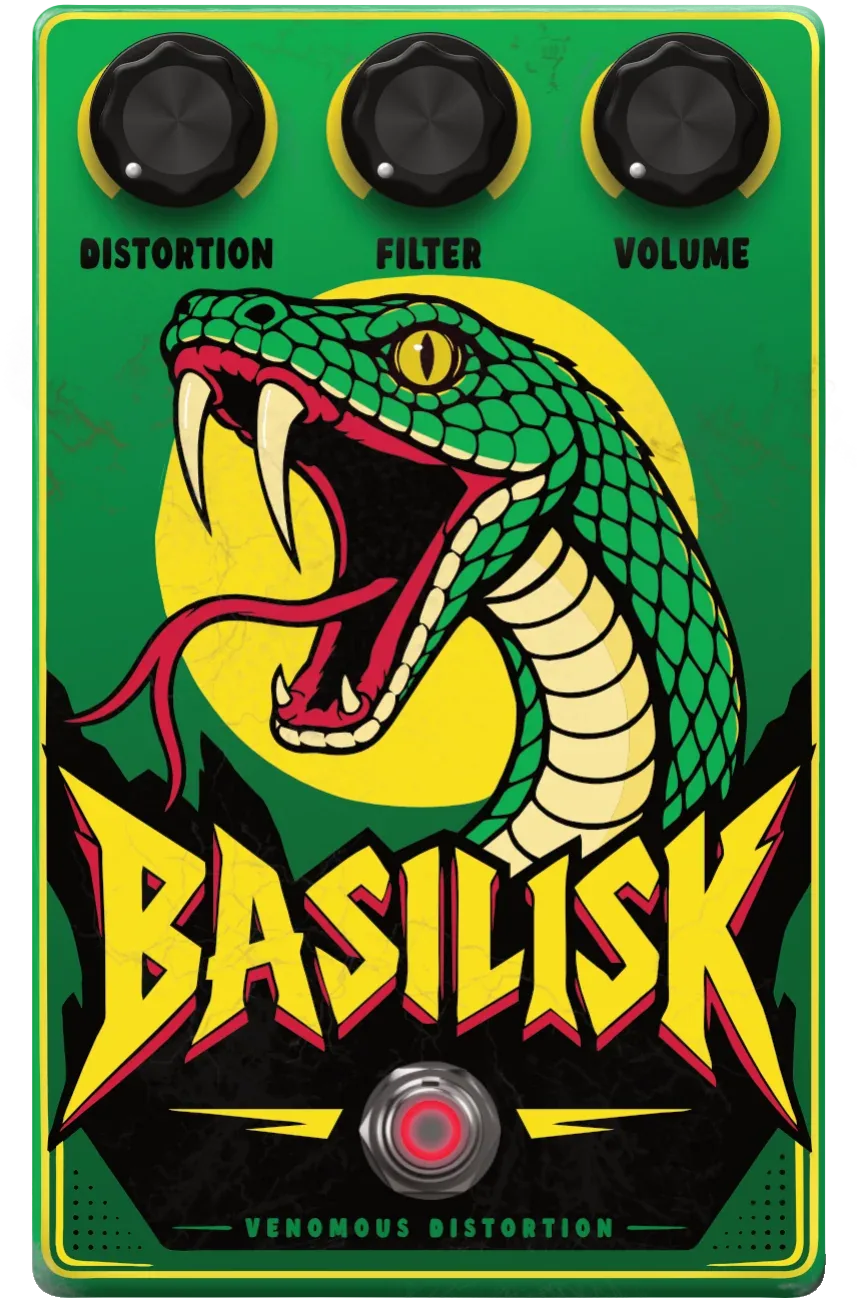
Sets the intensity and harmonic density of both clipping stages.
Moves from dark and thick to cutting and present.
Matches level or pushes the next processor in your chain.
Turns the effect on or off. When bypassed, the original signal passes through without processing.
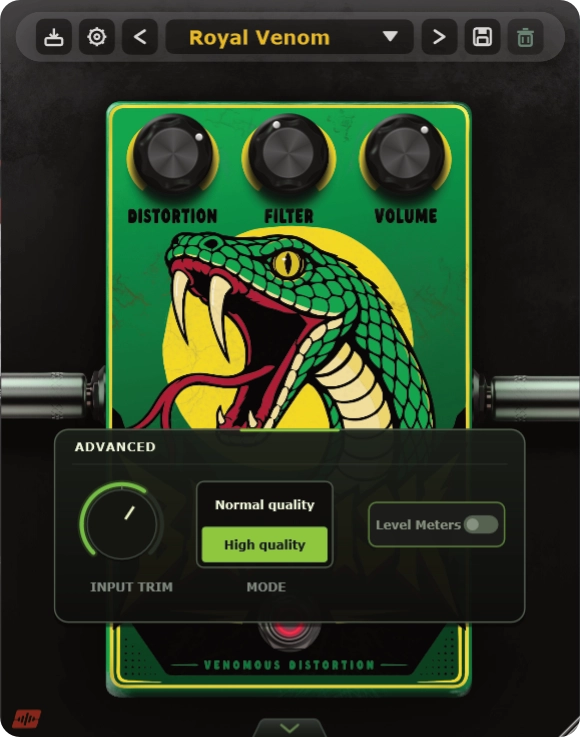
Open the panel with the arrow at the bottom of the interface.